Running Ubuntu on your Raspberry Pi is easy. Just pick the OS image you want, flash it onto a microSD card, load it onto your Pi and away you go. This post summarizes the step to install Ubuntu 20.04 server into Raspberry Pi 3, and shows how to get Wifi working as well.
1. Download Raspberry Pi Imager
https://www.raspberrypi.org/downloads/
2. Install and Run Raspberry Pi Imager
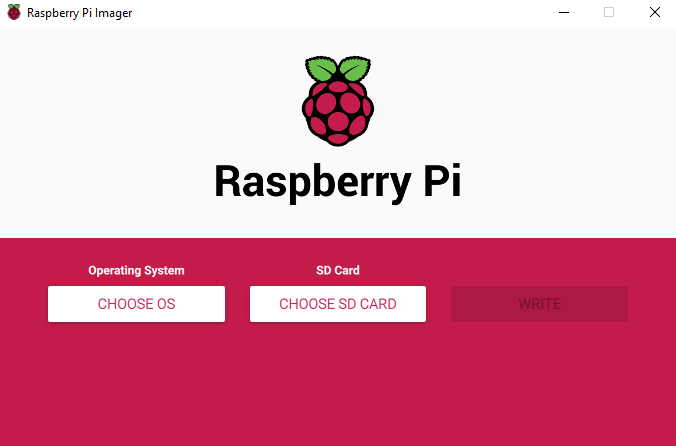
3. Choose OS and SD Card
Choose Ubuntu -> Ubuntu 20.04 LTS (Pi 2/3/4)

Choose your SD Card, then Write
4. Boot Raspberry Pi with your SD Card
5. User following username and Password
User: ubuntu
Pass: ubuntu
It will prompt you to change password right away after you log in.
6. Log in to try Internet access
sudo -i
Your Wifi might not working since the configuration for Wifi not done yet.
7. Get Wifi Working
$ ls /sys/class/neteth0 lo wlan0
7.2 Edit network configuration file to add WiFi info:
sudo nano /etc/netplan/50-cloud-init.yaml
you will see the following in the original file:
network:
    version: 2
    ethernets:
        eth0:
            dhcp4: true
            optional: true
network:
    version: 2
    ethernets:
        eth0:
            dhcp4: true
            optional: true
    wifis:
        wlan0:
            dhcp4: true
            dhcp6: false
            access-points:
                    "<your network ESSID>":
                     password: "<your WIFI Password>"
sudo netplan generate
And now apply this:
sudo netplan apply
If you are lucky, you should have network connected. Try to ping a website or run apt update command.
However, things may not go as smooth and you may see some errors. Try some extra steps if that’s the case.
Possible troubleshooting
It is possible that when you use the netplan apply command, you see an error in the output that reads something like this:
Failed to start netplan-wpa-wlan0.service: Unit netplan-wpa-wlan0.service not found.
Traceback (most recent call last):
  File "/usr/sbin/netplan", line 23, in <module>
    netplan.main()
  File "/usr/share/netplan/netplan/cli/core.py", line 50, in main
    self.run_command()
  File "/usr/share/netplan/netplan/cli/utils.py", line 179, in run_command
    self.func()
  File "/usr/share/netplan/netplan/cli/commands/apply.py", line 46, in run
    self.run_command()
  File "/usr/share/netplan/netplan/cli/utils.py", line 179, in run_command
    self.func()
  File "/usr/share/netplan/netplan/cli/commands/apply.py", line 173, in command_apply
    utils.systemctl_networkd('start', sync=sync, extra_services=netplan_wpa)
  File "/usr/share/netplan/netplan/cli/utils.py", line 86, in systemctl_networkd
    subprocess.check_call(command)
  File "/usr/lib/python3.8/subprocess.py", line 364, in check_call
    raise CalledProcessError(retcode, cmd)
subprocess.CalledProcessError: Command '['systemctl', 'start', '--no-block', 'systemd-networkd.service', 'netplan-wpa-wlan0.service']' returned non-zero exit status 5.
It is possible that wpa_supplicant service is not running. Run this command:
sudo systemctl start wpa_supplicant
Run netplan apply once again. If it fixes the issue well and good. Otherwise, shutdown your Ubuntu system using:
shutdown now
Start your Ubuntu system again, your wifi should be ok now. If not, just log in and generate and apply netplan once again:
sudo netplan generate
sudo netplan apply
References
from Blogger http://blog.51sec.org/2020/04/install-ubuntu-2004-on-raspberry-pi.html
Great! Thanks a lot for this helpful information.