My Home CyberArk Lab Environment:
- Vault Server1: 192.168.2.21
- Vault Server2: 192.168.2.22
- PVWA/CPM/PSM 1 : 192.168.2.23
- PVWA/CPM/PSM 2 : 192.168.2.24
- PSMP-PSM Gateway
- PTA
- PSM-HTML5 GW
- Domain Controller
- Radius Server
- Test machines, windows and linux
Topology
As my record, I put all simplified installation steps together as shown below:
1. Vault Installation
Installation:
a. Remove unnecessary TCP/IP protocols and only left TCP/IP v4 enabled, and TCP/IP v6 disabled. No DNS and No WINS.
b. Right click setup.exe under C:\CyberArkInstallationFiles\Vault Install Files\Server to run as administrator
c. Same process to install PrivateArk client on the vault server.
 Verification:
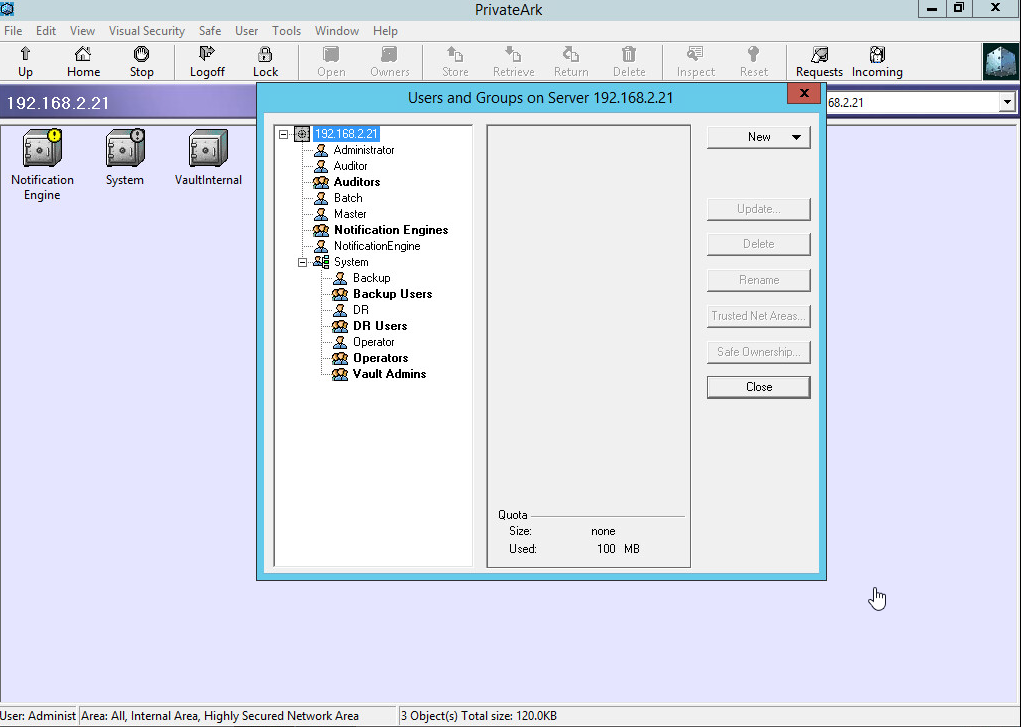
a. Make sure 3 safes existing in the vault.
b. Users / groups are listing in the vault as well
c. Open Windows Services and check that the following services have been installed and started.
- Cyber-Ark Event Notification Engine
- Cyber-Ark Hardened Windows Firewall (After Completed Harderning)
- CyberArk Logic Container
- PrivateArk Database
- PrivateArk Remote Control Agent
- PrivateArk Server
The Vault ’s main configuration files and logs can also be accessed from remote stations using the
PrivateArk Client (located in the system safe)
• dbparm.ini
• Italog.log
• license.xml
• paragent.log
• passparm.ini
• tsparm.ini
2. PVWA Installation
Installation:
a. Navigate to “C:\CyberArkInstallationFiles\Password Vault Web Access\InstallationAutomation”. Open Windows PowerShell as an Administrator in the folder specified in step 3 and execute the following PowerShell commands.
- Set-ExecutionPolicy Bypass
- .\PVWA_Prerequisites.ps1
b. Using File Explorer, navigate to folder “C:\CyberArkInstallationFiles\Password Vault Web Access\”. Right click setup.exe and “run as Administrator”.
c. IIS configuration:
- http redirecting to https
- Error page 403 redirect to PVWA web site
- IISRESET
Verification:
a. Open Chrome and confirm that the PVWA login page is displayed. This step validates that the PasswordVault application is communicating with the PrivateArk Server. Use URL https://comp01A.cyber-ark-demo.local/PasswordVault/v10/logon.
b. Login to the PVWA using CyberArk Authentication as Administrator. Validate tabs Policies, Accounts, Applications, Reports and Administration display correctly.
3. CPM Installation
Installation:
a. Using File Explorer, navigate to “C:\CyberArkInstallationFiles\Central Policy Manager\InstallationAutomation”. Open Windows PowerShell as an Administrator in the folder specified in step 4 and execute the following PowerShell commands.
- Set-ExecutionPolicy Bypass
- .\CPM_Preinstallation.ps1
b. In File Explorer open the extracted \Central Policy Manager folder. Right click setup.exe and choose “Run as Administrator”.
Verification:
Confirm that the CPM services are installed and running.
a. CyberArk Password Manager Service.
b. CyberArk Central Policy Manager Scanner.
4. PSM Installation
Installation:
a. Extract the folder “Privileged Session Manager” from “PSM CD Image-Rls-v10.9.zip” by double clicking and opening the zip file without initially extracting the files, then copy and paste the “PSM CD Image\Privileged Session Manager” folder to the root of C:\.
b. In File Explorer, navigate to “C:\Privileged Session Manager\InstallationAutomation\Prerequisites”. Edit PrerequisitesConfig.xml using “Notepad ++” search for and set all Enable= steps to YES. Save the file and exit.
c. Open Windows PowerShell as Administrator. Change directories to “C:\Privileged Session Manager\InstallationAutomation”. Execute the following commands.
- Set-ExecutionPolicy Bypass.
- .\Execute-Stage.ps1 C:\Privileged Session Manager\InstallationAutomation\Prerequisites\prerequisitesConfig.xml
d. When prompted in PowerShell, restart the server. After the server restarts, sign in with the same credentials used in step a to continue installation, The PowerShell script will launch immediately to complete the prerequisite installation. Allow the script to complete, then exit PowerShell.
e. A final step before PSM Installation is to assign an appropriate Domain Group access to the Session Collection.
- Open Server Manager and navigate to Remote Desktop Services -> Collections -> PSM-RemoteApp.
- In Properties, select TASKS -> Edit Properties -> User Groups.
- Add CYBER-ARK-DEMO\CyberArk Vault Admins and remove CYBER-ARK-DEMO\Domain Users,
f. Using File Explorer, navigate to C:\Privileged Session Manager. Right click setup.exe and choose “Run as administrator”. Select to install the Microsoft Visual C++ Redistributable Package (x86). Following the installation and server restart.
Verification:
a. Open PowerShell as administrator frp, “C:\Privileged Session Manager\InstallationAutomation” and Execute the following 2 commands.
- Set-ExecutionPolicy Bypass.
b. Then launch Execute-Stage.ps1 script with the location of the PostInstallationConfig.xml as the argument, as shown. Several scripts will be executed during this process.
- Execute-Stage.ps1 “C:\Privileged Session Manager\InstallationAutomation\PostInstallation\PostInstallationConfig.xml”
c. Review the log file in the location specified in the PowerShell command window.
5. DR Vault Installation
a. Same process to install PrivateArk server and client. Create your first vault , DRVault.
b. Open the PrivateArk client and login to the DRVault as administrator. Note that the only Safes in the Vault are the three built-in Safes.
DR failover and failback process is listed at post: CyberArk PAS HA, Backup, Failover and Failback Process
6. Post-Installation and Hardening
a. Sign in to the Comp01A server as Administrator. Navigate to C:\CyberArkInstallationFiles\(Components Name such as pvwa, psm, cpm)\InstallationAutomation\
for example: for pvwa, it is C:\CyberArkInstallationFiles\Password Vault Web Access\InstallationAutomation\
b. Open Windows PowerShell as an Administrator in the folder specified in step 1 and execute the following PowerShell commands. Select Yes when prompted.
- Set-ExecutionPolicy Bypass
- .\PVWA_Hardening.ps1
c. Wait until the script completes, then restart the server.
Hi, Could you please let me know how to get the setup files for cyberark components ?
Hi Debottam,
You can get it from your Cyberark SFE site, or ask your local CyberArk sales to get a trial one.
Hi Team,
Central policy manager scanner service stopped and unable to start the sefvice